August 3, 2012

The Out Wales

The next step was to glue on the out wales. I would be able to clamp it for most of its length but up near the deck there would be nothing to clamp to. I did not want to have to screw it on and then try and hide the screws so I spent a lot of time thinking about how to achieve this. Finally 
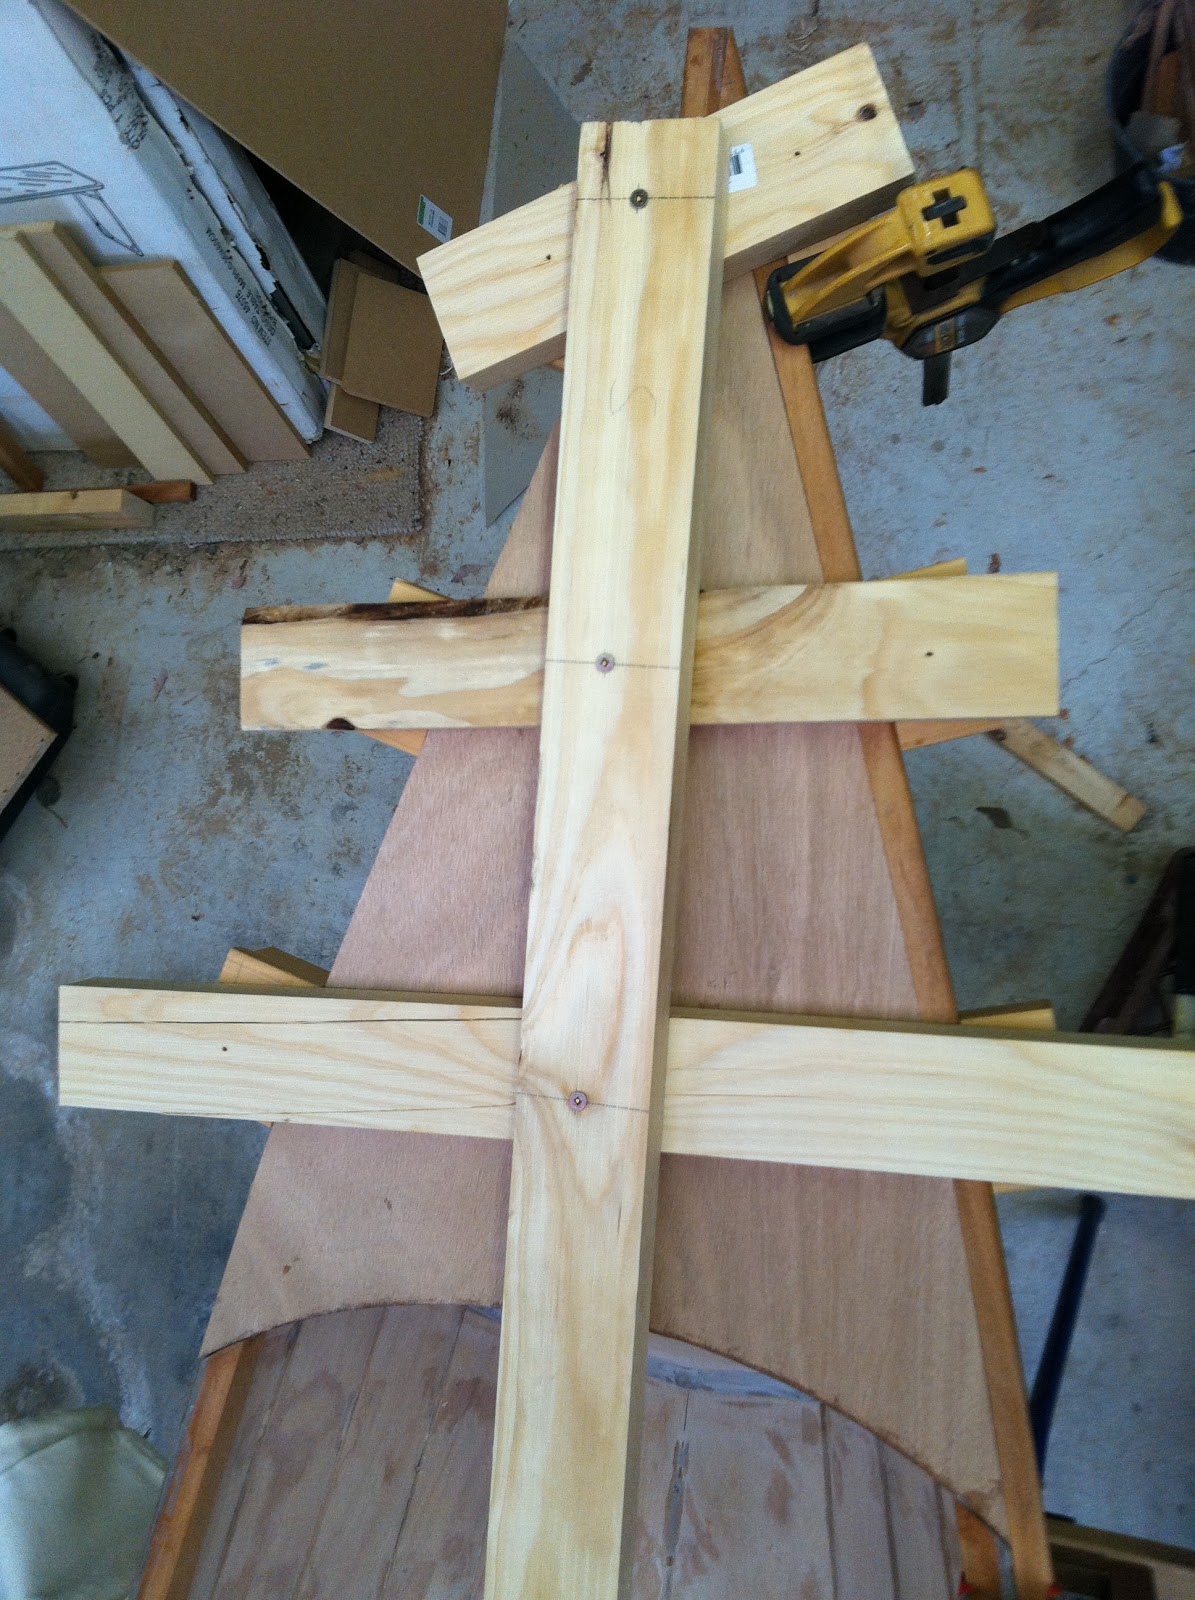
after a lot of thought I built 2 of these weird looking braces and used them to hold the out wales in place while the epoxy dried. This took a lot of set up and the tension required on the rope that was holding the two braces together was so much you could almost play it like a guitar string. But it was worth it. The result was exactly what I was after a seamless join with no screws.


All Clamped up
The Out  Wale Glued in Place

August 2, 2012

The Deck Part 3

Finally it is time to glue the deck in place. I did not want to put any screws or bolts through my beautiful deck so I had to come up with a way to hold it down. Lots of trial and errors and eventually came up with this. Four pavers left over from the garden make over and a couple of weights from the home gym. I used thickened epoxy as I had done for all of the other joins in the boat. I left it all in place for about a day to make sure that it way firmly in place before I removed the weights.

Once the epoxy had dried I was able to cut the extra ply wood off and finish it off with an electric sander.

Holding the deck in place while the deck drys.

August 1, 2012

The Deck Part 2

Inside the baulk heads
after epoxy
After spending a lot of time fiddling and sanding to make sure everything was just right it was time to glue the deck in place. But before I could glue it down I had to seal everything with epoxy so that it will not be affected by any water that might get in. This was the first time that I had used the unthickened epoxy over such a large area. At least if it does not come out so well it will be hidden away. I coated the underside of the deck and the inside of the bulk heads with 2 coats of epoxy. It came out pretty well but part of me is glad that this section will be hidden away.


The inside of the Deck after a coat of epoxy

July 31, 2012

The Deck Part 1

Well it is time to start working on the deck. I cut out the basic shape using a cardboard template and my jig saw. I made it about 2cm to big on the sides so that I could bring it down flush at a later stage. Then I cut it down the middle and got this edge nice and straight so that it matched perfectly with the brace down the centre. Getting this spot on took some time. Next I had to flatten out the area that the deck would sit on. Although it had to be a flat surface it was on all sorts of strange angles. This also took a bit of time again because I wanted it to be a nice flat surface. I think the deck is going to come up quite nice.


July 30, 2012

A Bit of Fancy Stuff

I decided that I wanted a bit of fancy work in my deck. The book that I am working out of suggest that you can just sit the deck on top of the gunwales but I had seen someone on the internet make a flush fit deck and I thought that would be good. I also wanted to put a feature strip of wood in the deck as well. Sounds easy but I spent a lot of time trying to work out how I was going to achieve this. The main deck piece would need to be cut half and strengthened up the middle so it did not collapse if someone sat on it. I would also need to cut away a piece of the inwale and the hull to make the deck fit flush. I forgot to take any photos of this process but you should get some idea of how it was done as you look at the following posts.